
Remove an unwanted object from a photo
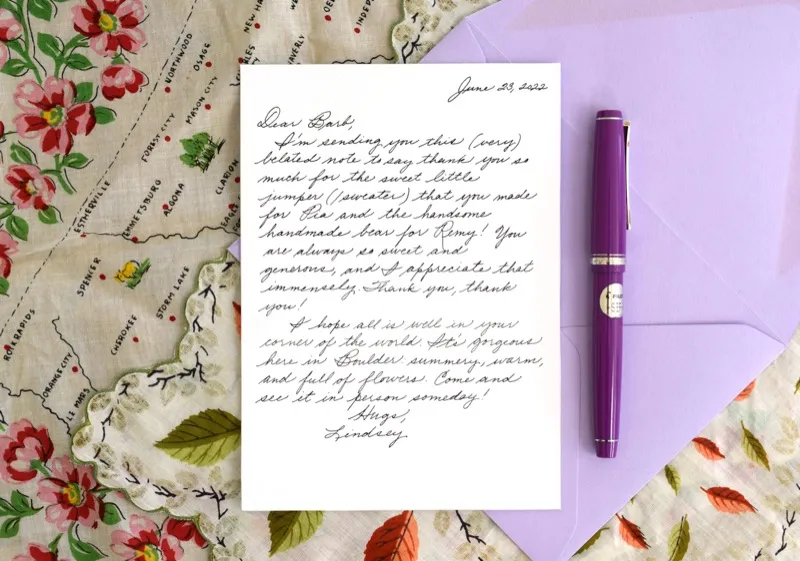
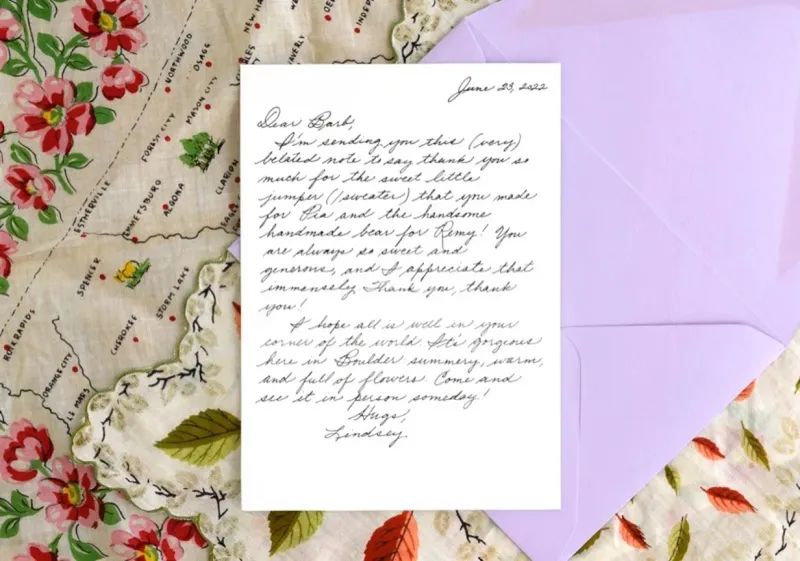
Brush over the object you want gone and the AI object remover fills the gap with a natural continuation of the background. Drag the slider to compare before and after.
Erase any unwanted object — signs, cables, trash, gear, clutter — with AI generative fill. Strong on large or complex shapes that simple erasers struggle with. Sign in · 12 credits per removal.

Brush over the object you want gone and the AI object remover fills the gap with a natural continuation of the background. Drag the slider to compare before and after.


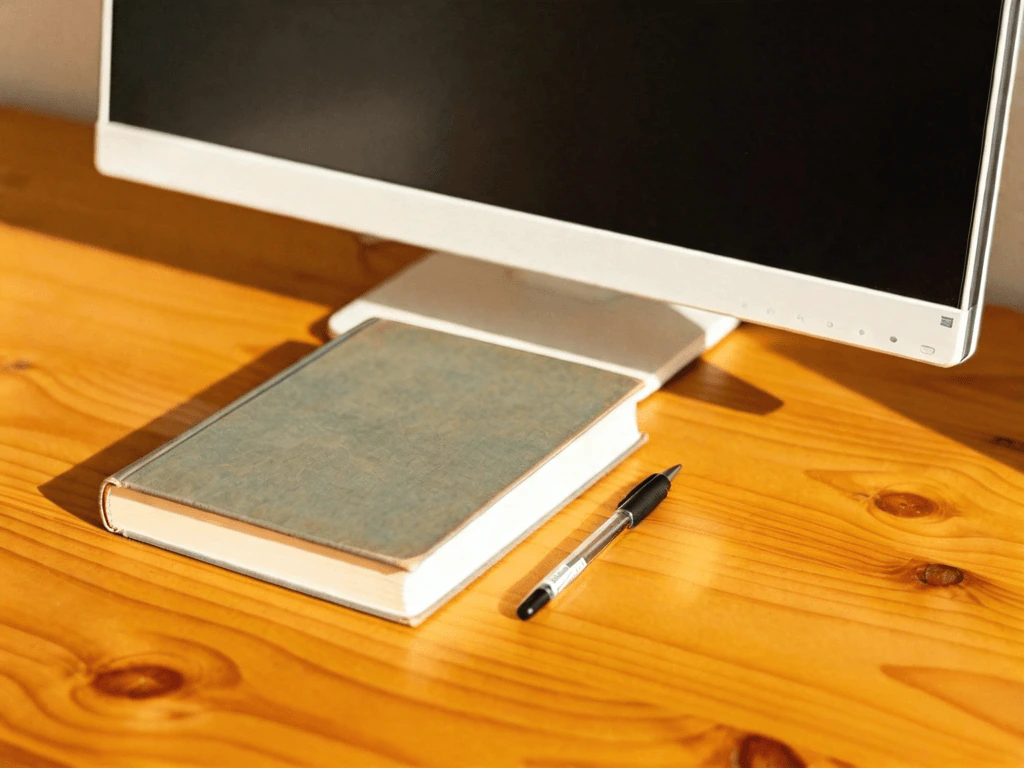
Signs, cables, bins, bags, or stray clutter — paint them out and the surrounding texture, colour, and lighting carry straight through the gap, with no smear or ghost outline.
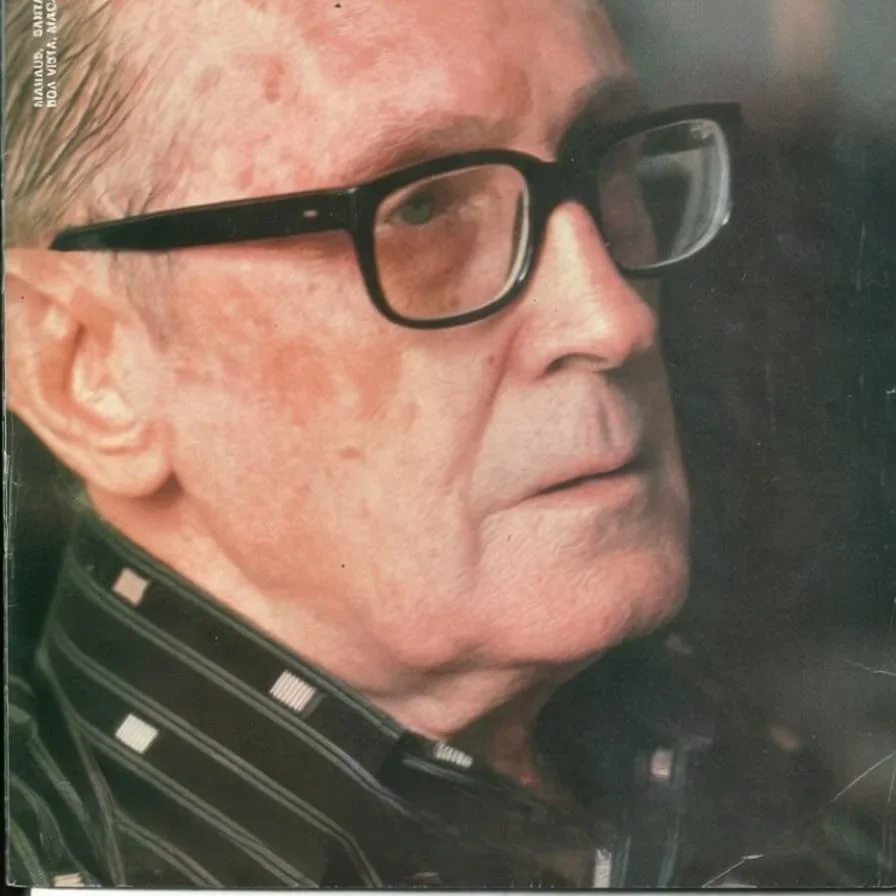
Even an object in front of a detailed scene comes out cleanly: the generative fill blends the rebuilt area into its surroundings so the removal is invisible.
Upload a photo, brush over what you want removed, and sign in to submit. Each removal costs 12 credits. Inspect the reconstructed background before downloading the PNG. Hidden details are reconstructed, not recovered.
Older object-removal tools work by extrapolating from surrounding pixels — fast and surgical when the background is simple, but they smear or leave ghost lines on anything large or complex. A generative model takes a different approach: instead of only copying nearby pixels, it redraws the masked area from the surrounding context, inventing a plausible continuation of the scene. That makes it dramatically better on large, complex, or overlapping objects.
The editor sends your photo and an aligned mask to an object-removal model. White mask pixels mark the area to remove; surrounding content provides context for rebuilding the background.
The edit is guided by your mask. Inspect the output for edge remnants, background artifacts, changes to faces and damage to text. Pixel-identical preservation outside the mask is not guaranteed. The homepage and this page use the same capability and price.
Upload the photo
Choose a JPG, PNG or WebP up to 10 MB. Images are resized to at most 1536 px on the longest edge before processing. Check the downloaded dimensions before using a result for print.
Brush over the object plus margin
Paint every pixel of the thing you want gone — the whole outline, including any shadow on the ground or reflection on water. Add 6–10 pixels of margin around the edge so the AI has clean surrounding context to rebuild from. For big or tall objects, a larger brush (80–120 px) covers in fewer strokes. Undo and Clear are on the right panel if you overshoot.
Download the generative fill
Submit for 12 credits. Processing time varies with image size, queue time and service availability. Refresh this page to reconnect to your existing task, or find the result in My Creations. Download and inspect the completed PNG.
Large objects across the frame
Parked cars, picnic tables, benches spanning a big area — simpler erasers give up. The AI has enough capacity to invent coherent grass / pavement / walls underneath.
Objects in front of detailed backgrounds
A sign in front of a brick wall, a bag on a patterned rug, a bottle on a forest floor. The AI matches texture and lighting closely instead of smearing the area.
Overlapping objects
Cables crossing a fence, signs layered over tree branches — a generative model handles these where simple reconstructive erasers leave ghost lines.
Objects with hard shadows
Paint the object + its shadow together. The AI redraws the ground with matching lighting, so the scene looks naturally unlit rather than half-lit.
Paint generously, include shadows and reflections
The single biggest factor in result quality is mask coverage. A tight mask leaves the object's shadow or reflection behind — looks like a ghost. Always paint 6–10 px past the object silhouette, and include any shadow on the ground or reflection on water / glass.
Start from the cleanest upload you have
Heavy JPG compression around the object makes the rebuild harder and can leave faint artefacts. If you have a higher-quality source — a PNG, an original export — start from that for a cleaner result.
Re-run if the first result looks overdone
Each remove is an independent generation, so if the AI invents too much texture, undo, brush a slightly tighter or wider mask, and run it again. A small change to the mask often produces a noticeably cleaner fill.
Check output dimensions
Choose a JPG, PNG or WebP up to 10 MB. Images are resized to at most 1536 px on the longest edge before processing. Check the downloaded dimensions before using a result for print.
Pixel-perfect preservation
The edit is guided by your mask. Inspect the output for edge remnants, background artifacts, changes to faces and damage to text. Pixel-identical preservation outside the mask is not guaranteed.
Very small fine objects on busy backgrounds
Tiny text on dense foliage, fine wires in a detailed scene — large-scale generation can soften or miss these. Brush carefully, zoom in, and expect subtle removals to be the hardest case.
Strict colour matching
Studio product photography where precise colour reproduction matters. The AI can shift colours slightly in the rebuilt area, so double-check critical product shots after a remove.
AI Object Remover
The homepage version of this tool — the same AI, a quick starting point for simple removals.
Remove People from Photo
Same AI, framed for clearing crowds and photobombers specifically.
Remove Watermark from Photo
AI watermark remover — diagonal © lines, corner stamps, signatures, and logo overlays.